

INTRODUCTION
Mobile app development has become an integral part of the software industry, with a diverse range of devices and platforms available. Building native apps for each platform can be time-consuming and resource-intensive. Xamarin, a cross-platform mobile development framework, comes to the rescue by allowing developers to write native apps using C# and .NET, while sharing a significant portion of the codebase across iOS and Android platforms.
What is Xamarin?
It is an open-source framework that enables developers to create native apps for iOS, Android, and Windows using a single codebase. It leverages the power of the .NET platform and the C# programming language to deliver high-performance, fully native user experiences.
Setting Up Your Development Environment
Before diving into Xamarin development, you need to set up your development environment. Ensure that you have the following components installed:
Visual Studio: Xamarin development is tightly integrated with Visual Studio, Microsoft’s flagship IDE. You can download Visual Studio from the official website.
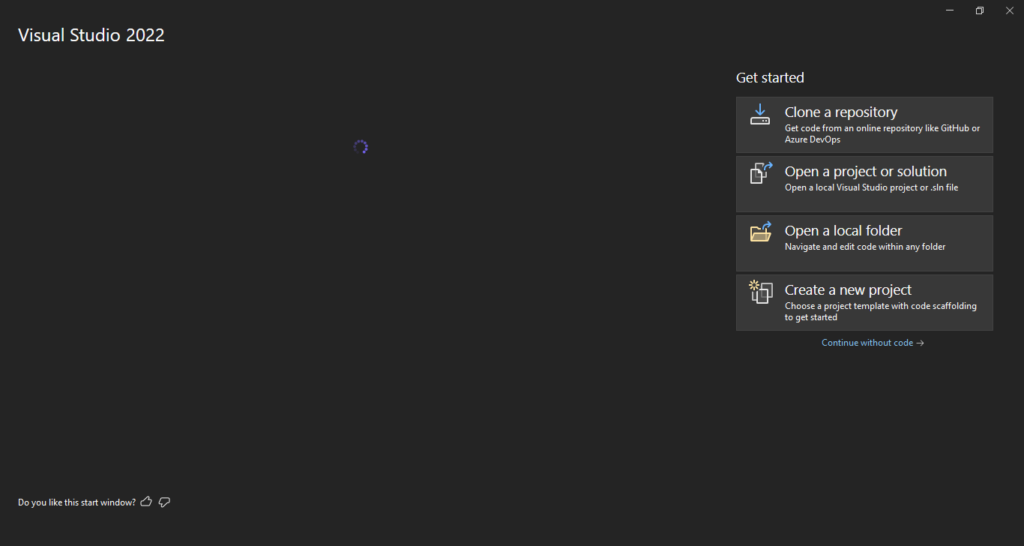
Tools: Once Visual Studio is installed, you need to install the Xamarin workload. This includes the SDKs and emulators.
Xcode (for Mac): If you plan to develop iOS applications, you’ll need Xcode installed on your Mac.
Android Studio (for Android): For Android development, install Android Studio and configure the Android SDK
Creating Your First Xamarin Project
Let’s create a simple Xamarin.Forms project to get started. It is a UI toolkit that allows you to create a single user interface that can be shared across iOS, Android, and Windows.
- Open Visual Studio and select “Create a new project.”
- Choose the “Mobile App (Xamarin.Forms)” template.
- Give your project a name and click “Create.”
This will create a basic Xamarin.Forms project with shared code for iOS, Android, and Windows.
Xamarin.Forms Structure
A Xamarin.Forms project typically consists of the following components:
- App.xaml: Defines the application’s entry point and resources.
- MainPage.xaml: The main page of the application.
- App.xaml.cs and MainPage.xaml.cs: Code-behind files for the App.xaml and MainPage.xaml files.
Xamarin.Forms UI Elements
Xamarin.Forms provide a wide range of UI elements to create a responsive and visually appealing user interface. Here are a few examples
					// Creating a Label
Label myLabel = new Label
{
    Text = "Hello, Xamarin!",
    FontSize = 20,
    HorizontalOptions = LayoutOptions.Center,
    VerticalOptions = LayoutOptions.CenterAndExpand
};

// Creating a Button
Button myButton = new Button
{
    Text = "Click me!",
    Command = new Command(() => { myLabel.Text = "Button Clicked!"; })
};

// Creating an Entry (Text Input)
Entry myEntry = new Entry
{
    Placeholder = "Enter text here",
    Keyboard = Keyboard.Text
};
// Creating a Button
Button myButton = new Button
{
    Text = "Click me!",
    Command = new Command(() => { myLabel.Text = "Button Clicked!"; })
};

// Creating an Entry (Text Input)
Entry myEntry = new Entry
{
    Placeholder = "Enter text here",
    Keyboard = Keyboard.Text
};
Platform Specific Code
While Xamarin.Forms allows you to share a significant portion of your code, there may be scenarios where you need platform-specific functionality. Xamarin allows you to write platform-specific code using DependencyService.
					// Interface definition in shared code
public interface IDeviceService
{
    string GetDeviceName();
}

// Implementation in iOS project
[assembly: Dependency(typeof(DeviceService))]
namespace YourApp.iOS
{
    public class DeviceService : IDeviceService
    {
        public string GetDeviceName()
        {
            return UIDevice.CurrentDevice.Name;
        }
    }
}

// Implementation in Android project
[assembly: Dependency(typeof(DeviceService))]
namespace YourApp.Droid
{
    public class DeviceService : IDeviceService
    {
        public string GetDeviceName()
        {
            return Build.Model;
        }
    }
}
Running Your App
To test your app, select the target platform (iOS, Android, or Windows) and click the “Run” button in Visual Studio. This will launch the emulator or connect to a physical device for testing.
Conclusion
Xamarin simplifies cross-platform mobile development by allowing developers to write native apps using the familiar C# language and .NET framework. With Forms, you can create a shared user interface for iOS, Android, and Windows, while still having the flexibility to write platform-specific code when needed. As you delve deeper, explore additional features, plugins, and community resources to enhance your mobile app development experience.
